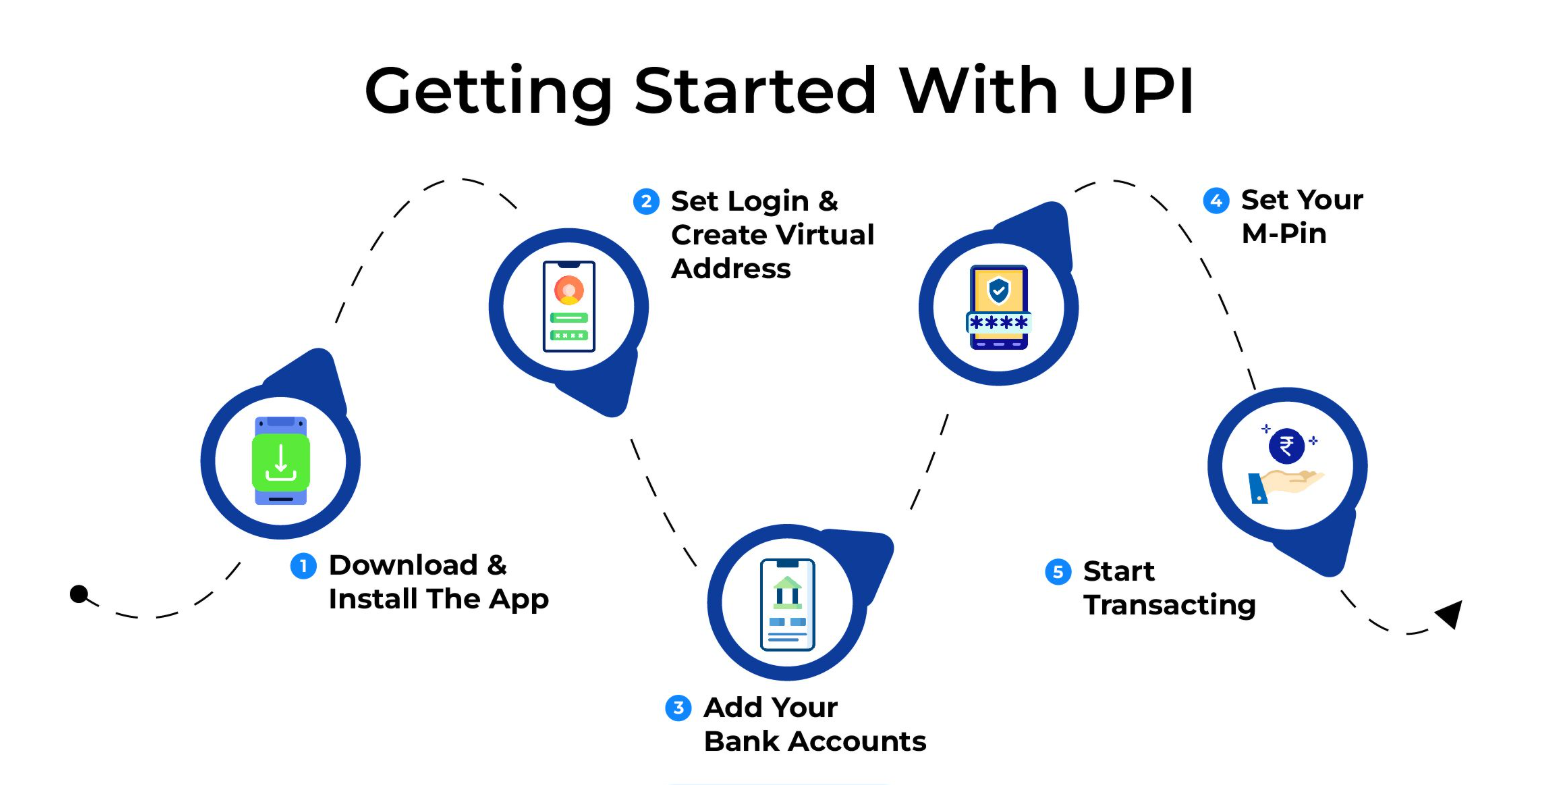
Why a personalised UPI ID matters
A custom UPI handle lets you hide your phone number or email during payments, reduces spam and wrong transfers, and creates an easy to remember identity for personal or business use.
Set up a personalised UPI ID on Paytm

-
Open the Paytm app and sign in.
-
Tap the Profile icon at the top left.
-
Select UPI and Payment Settings.
-
Tap View next to your current UPI ID.
-
Choose Try Personalised UPI ID.
-
Type a custom ID or pick one from the suggestions.
-
Check the bank suffix that will appear after your handle such as pthdfc or ptyes depending on your linked bank.
-
Tap Confirm to reserve the handle.
-
Set the new handle as Primary if you want it to show by default on requests and payment screens.
-
Send a small test payment or request to make sure everything works.
Create or manage a personalised UPI ID on Google Pay
Note: Google Pay is rolling out this feature in phases. If you do not see the option yet, keep your app updated and check again later.
-
Open Google Pay and tap your Profile photo.
-
Choose Bank account.
-
Select your primary bank account for UPI.
-
Tap Manage UPI IDs.
-
If the feature is available for your bank, tap Add new UPI ID.
-
Enter a custom handle and check availability.
-
Save the new handle once approved.
-
Set the new handle as Default for sending and receiving.
-
Share the handle with trusted contacts and update it on bills, invoices, and QR codes if needed.
-
Verify by making or receiving a small test payment.
Tips to choose a strong and memorable handle
-
Keep it short and readable so people can type it without errors.
-
Avoid personal details like full phone numbers or full names.
-
Mix letters and numbers for uniqueness.
-
Reserve the same or similar handle across apps for consistency.
-
Do not use words that could confuse payers such as official or support.
Quick safety checks after you switch
-
Confirm your new handle inside your bank section in each app.
-
Update saved beneficiaries with the new handle where required.
-
Reprint or refresh QR codes if they embed your UPI ID.
-
Enable app lock and device screen lock.
-
Watch for phishing messages and always verify the receiver name before sending money.
The bottom line
Personalised UPI IDs give you privacy, clarity, and a professional identity for payments. Set it up on Paytm in minutes and watch for the feature on Google Pay as the rollout widens.
Follow Tech Moves on Instagram and Facebook for more simple guides, fintech updates, and smart payment tips.